Welcome to a fascinating journey into the world of antique wooden boxes. In this article, you will learn all about the art of reviving history by repairing and restoring these aged treasures. Discover the techniques and tools used by skilled craftsmen to bring new life to old wooden boxes, preserving their beauty and history for generations to come. Whether you’re a collector, a history enthusiast, or simply someone who appreciates the craftsmanship of days gone by, you’ll be captivated by the stories these boxes have to tell. Let’s delve into the world of restoring aged wooden boxes together!
Reviving History: Repairing and Restoring Aged Wooden Boxes
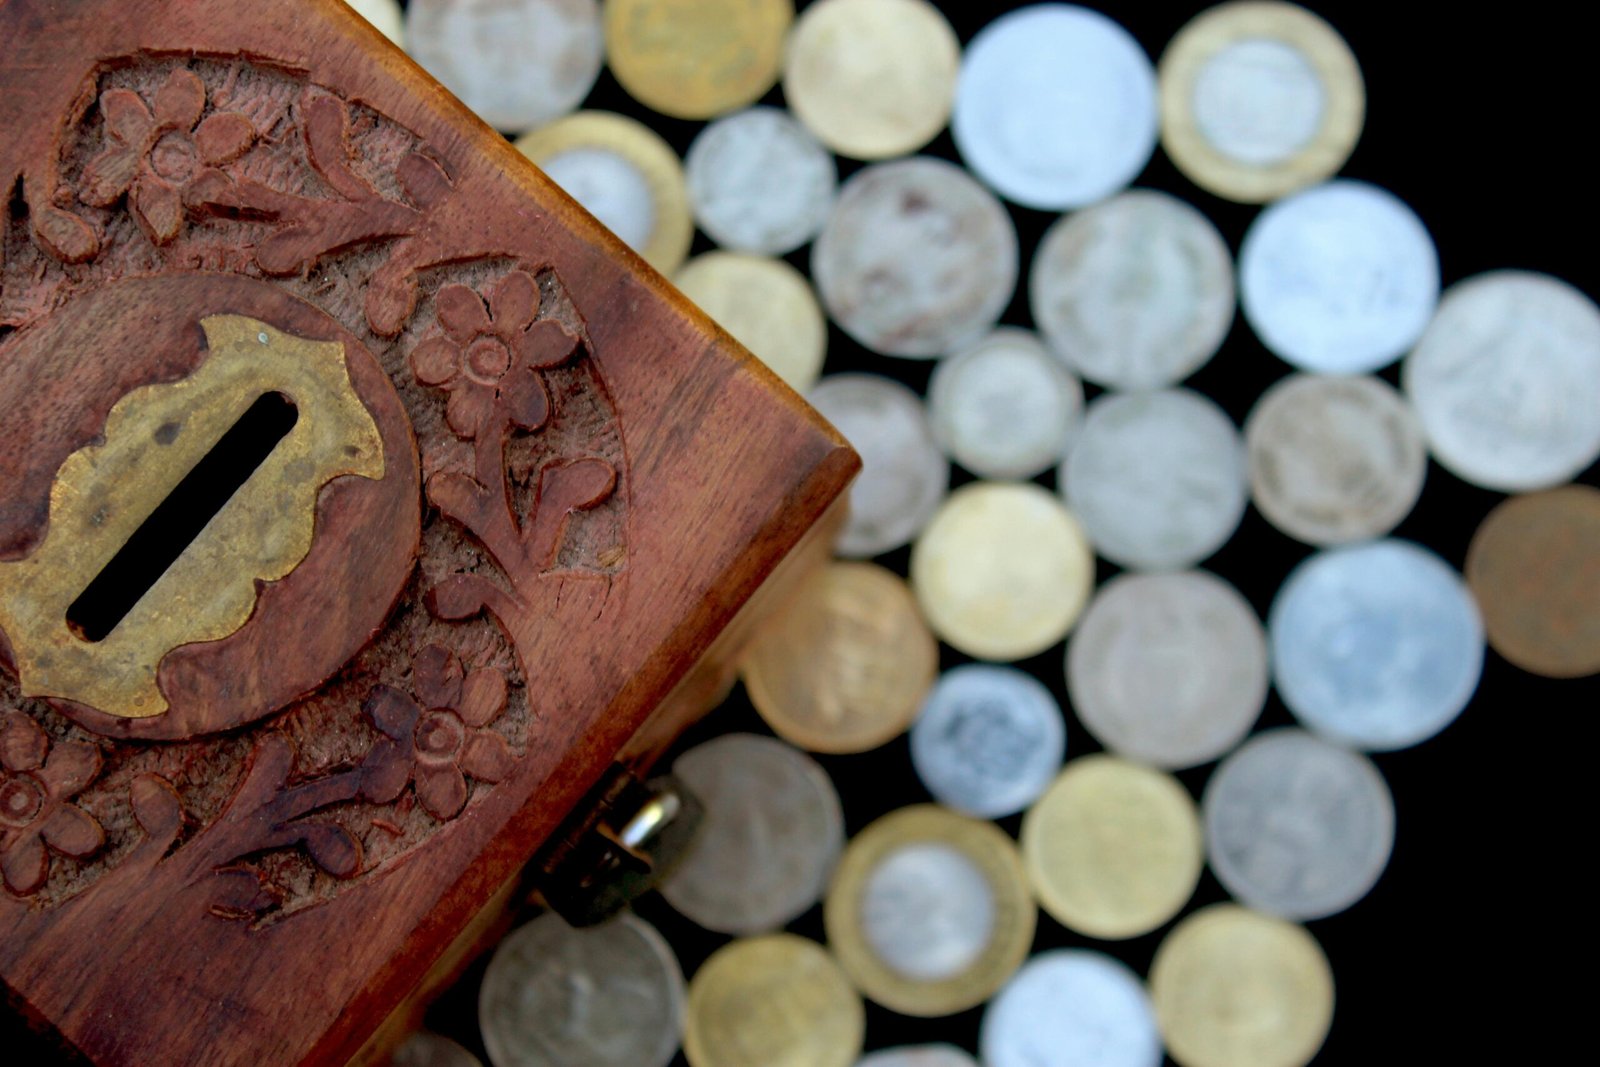
Have you come across an old, worn-out wooden box that holds sentimental value or adds a vintage touch to your decor? If so, you may be wondering how to revive and restore it to its former glory. Wooden boxes have a rich history and can hold significant value, whether monetarily or emotionally. In this article, we will guide you through the process of repairing and restoring aged wooden boxes, preserving their historical significance and enhancing their beauty.

This image is property of pixabay.com.
Understanding the Significance of Wooden Boxes
Wooden boxes have been used for centuries to store and transport goods, making them an integral part of human history. These boxes were crafted with care and precision, often featuring intricate designs and fine craftsmanship. Today, antique wooden boxes have become sought-after collectibles, cherished for their historical value and unique charm.
Understanding the significance of wooden boxes can help you appreciate the craftsmanship and artistry that went into making them. By repairing and restoring these aged boxes, you not only preserve a piece of history but also give new life to an object that has stood the test of time.
Assessing the Condition of the Wooden Box
Before you begin the repair and restoration process, it is essential to assess the condition of the wooden box. Take a close look at the box, noting any visible damage such as cracks, dents, scratches, or loose joints. Look for signs of wear and tear, such as faded or peeling finish, water damage, or wood rot.
Assessing the condition of the wooden box will help you determine the extent of the repairs needed and plan your restoration process accordingly. By taking the time to evaluate the box thoroughly, you can ensure that your efforts are focused on addressing the most critical areas of damage.
Gathering the Necessary Tools and Materials
Once you have assessed the condition of the wooden box, it’s time to gather the necessary tools and materials for the repair and restoration process. Depending on the extent of the damage, you may need a variety of tools and supplies to complete the project successfully.
Here is a list of essential tools and materials you may need for repairing and restoring aged wooden boxes:
- Sandpaper in various grits
- Wood glue
- Clamps
- Wood filler
- Stain or paint
- Varnish or sealant
- Brushes
- Gloves
- Safety goggles
Having the right tools and materials on hand will make the repair and restoration process more manageable and efficient. It’s essential to use high-quality supplies to ensure a professional-looking finish and long-lasting results.
Repairing Cracks and Loose Joints
One of the most common issues with aged wooden boxes is cracked or broken joints. Over time, the wood may shrink or expand, causing joints to loosen or crack. Repairing these joints is crucial to the structural integrity of the box and preventing further damage.
To repair cracks and loose joints in a wooden box, follow these steps:
- Clean the area around the crack or joint with a damp cloth to remove any dirt or debris.
- Apply wood glue to the crack or joint, making sure to spread it evenly and press the pieces together firmly.
- Use clamps to hold the pieces in place while the glue dries, following the manufacturer’s instructions.
- Once the glue has dried, sand any excess glue to smooth the surface and blend the repair with the rest of the box.
Repairing cracks and loose joints will strengthen the structure of the wooden box and prevent further damage. Be sure to allow an adequate amount of time for the glue to dry before moving on to the next step of the restoration process.

This image is property of pixabay.com.
Filling Dents and Scratches
Dents and scratches are another common issue found in aged wooden boxes, detracting from their overall appearance. While these imperfections may seem minor, they can make a significant difference in the box’s aesthetic appeal. Filling and repairing dents and scratches will help restore the box’s original beauty and charm.
To fill dents and scratches in a wooden box, follow these steps:
- Clean the area around the dent or scratch with a damp cloth to remove any dirt or debris.
- Apply wood filler to the damaged area, using a putty knife to spread it evenly and fill the imperfections.
- Allow the wood filler to dry completely, following the manufacturer’s instructions.
- Sand the repaired area with fine-grit sandpaper to smooth the surface and blend the repair with the rest of the box.
Filling dents and scratches will give the wooden box a polished look and help maintain its historical significance. Take your time with this step to ensure a seamless repair that enhances the overall appearance of the box.
Restoring the Finish
The finish of a wooden box plays a crucial role in its overall appearance and protection. Over time, the finish may wear off, become faded, or show signs of damage. Restoring the finish of an aged wooden box will not only enhance its beauty but also preserve the wood and protect it from further deterioration.
To restore the finish of a wooden box, follow these steps:
- Sand the entire surface of the box with medium-grit sandpaper to remove the existing finish and prepare the wood for staining or painting.
- Apply a wood stain or paint to the box, using a brush or cloth to achieve the desired color and coverage.
- Allow the stain or paint to dry completely, following the manufacturer’s instructions.
- Apply a coat of varnish or sealant to the box to protect the wood and enhance its beauty.
- Allow the varnish or sealant to dry thoroughly before handling or displaying the box.
Restoring the finish of a wooden box will bring out the natural beauty of the wood and give it a fresh, polished look. Choose a finish that complements the box’s design and enhances its historical significance for an aesthetically pleasing result.

This image is property of pixabay.com.
Preserving the Wooden Box
Once you have completed the repair and restoration process, it’s essential to take steps to preserve the wooden box and ensure its longevity. Proper preservation techniques will help maintain the box’s beauty and structural integrity, preventing future damage and deterioration.
Here are some tips for preserving a wooden box:
- Avoid placing the box in direct sunlight or near heat sources to prevent fading or warping.
- Clean the box regularly with a soft cloth to remove dust and debris.
- Use coasters or felt pads to protect the box from scratches and water damage.
- Store the box in a cool, dry place to prevent mold or mildew growth.
- Handle the box with care to avoid dropping or damaging it.
By following these preservation tips, you can enjoy your restored wooden box for years to come and pass it down as a treasured heirloom.
Final Thoughts
Repairing and restoring aged wooden boxes is a rewarding process that allows you to preserve history and showcase the craftsmanship of the past. By following the steps outlined in this article, you can breathe new life into an old, worn-out box and give it a second chance to shine.
Whether you’re an antique collector, a history enthusiast, or simply someone who appreciates the beauty of vintage objects, reviving aged wooden boxes is a fulfilling and enjoyable experience. So, roll up your sleeves, gather your tools, and embark on a journey to bring history back to life, one wooden box at a time.